Recently we tried to sell a newly built Tamiya TT02 Lexus RC F Eneos Sustina. That did not go as well as planned; it took quite some time and we had to sell the car in pieces.
However, the photos I posted along with the ad led to someone contacting me, asking whether I'd be interested in painting a body shell and installing lights. My first client <smile>.
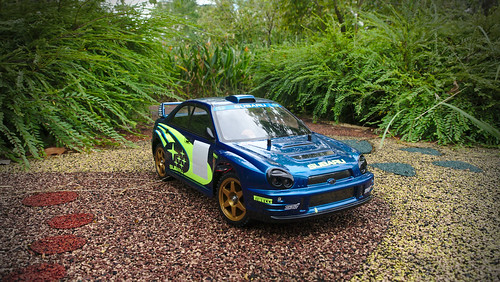
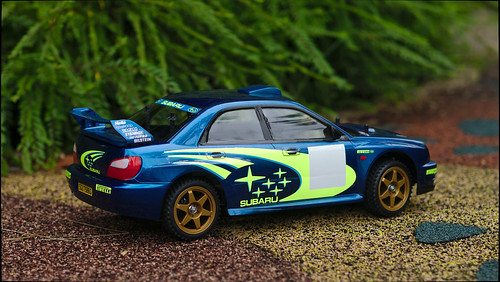
This is a Tamiya Subaru Impreza WRC 2001 Prototype, hence there are no race numbers and only a rudimentary set of decals on the car. As usual, Tamiya made an excellent job with the realism of this shell when compared to reference photos that can be found on the Internet.
This car does not have a light buckets, so we had to make our own. First we made a sample from cardboard to get the size correct. A vector drawing program was used to create a clean drawing on the computer. The light buckets were built from Styrene. The back piece where the LEDs sit in is 1 mm thick, the walls are 0.5 mm thick.
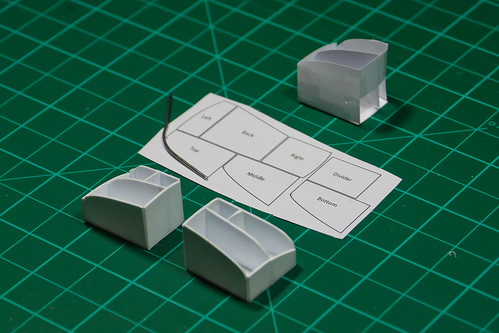
To trace the curves of the body we discovered an excellent method: take a piece of electronics solder and wrap it around the curve you want to transfer. The solder is extremely flexible and does not spring back. Put the bent solder onto a piece of paper and gently trace with a pencil. Works really well!

A few evenings of craft work and the custom buckets fit nicely. Later this year we will buy a 3D printer, which will make things easier.
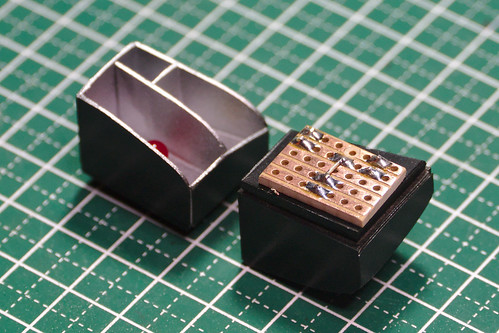
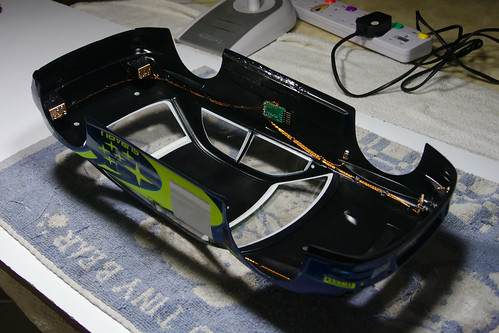
A piece of strip-board on the back was used to hold the LEDs and allow to attach the wiring.
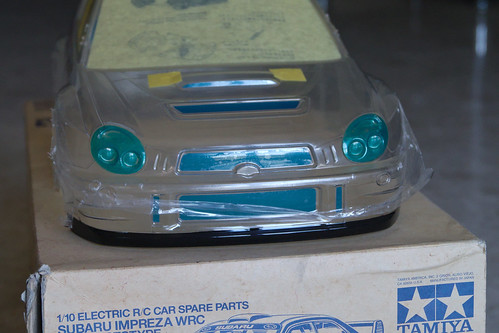
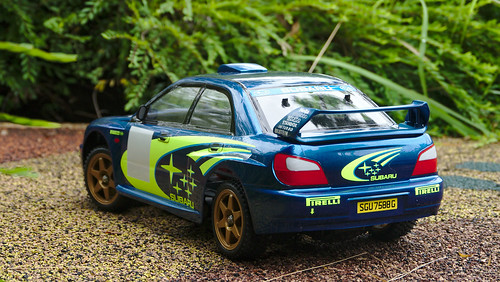
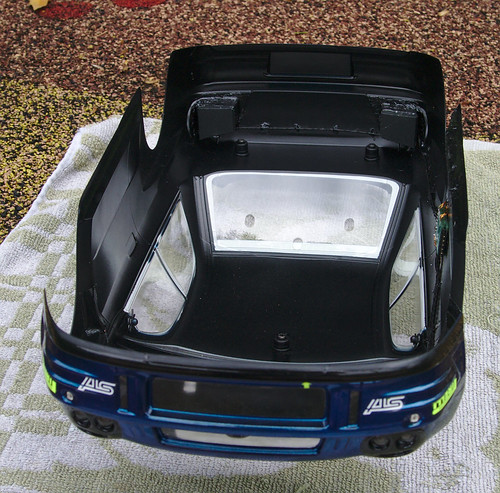
Lots of effort went into this shell: The bottom of the spoiler was painted black instead of applying stickers; All grills were kept transparent to allow the client to put plastic scale radiators behind; Liquid mask was used for the head lamps.
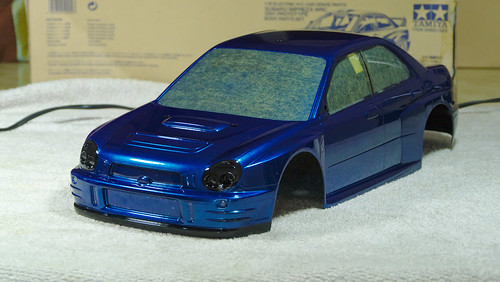
Nothing nicer than a freshly painted piece of polycarbonate!
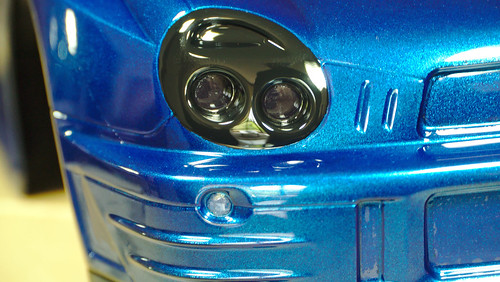
The masking worked reasonably well, defects are hardly visible since both colors are dark. The result is extremely nice in my not-so-humble opinion.
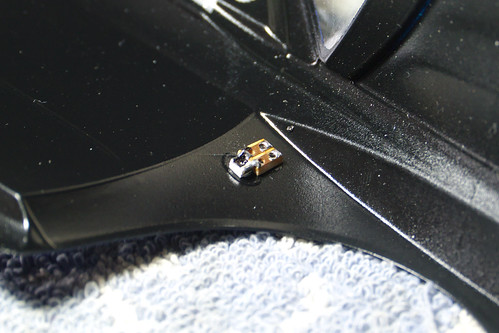
To light up the indicators in the fender, we butt-soldered a tiny orange SMD LED onto a piece of strip-board. The strip board was secured with a drop of Shoe Goo. The LED shines through the sticker that came with the kit. A hole was masked out where the LED emits light.
The body shell was a spare part that was stored improperly for a long time and had a crack below the right door. Shoe Goo and a scrap piece of Lexan fixed that.
The wire harness was made from enamel wire, twisted together with a hand drill. The Enamel coating melts at 400 degrees C, so you can use your soldering iron to strip it off and then solder the bare wire to the LEDs. Very easy to do, very tidy, very simple.
Thin Enamel wire, sometimes also referred to as magnet wire, can be recycled from loudspeakers, relais or transformers found in switch-mode power supplies.
When everything was done, we painted the wires black to make them disappear. We also made a craft-paper cover for the light buckets. It makes the back of the light buckets look tidy and seals off any leaking light.
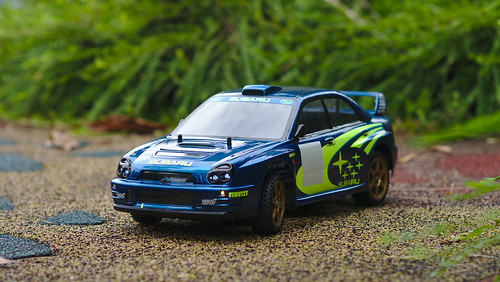
The client mentioned that this shell will most likely never be run. So we programmed the light controller to simulate driving, switching the lights on/off at random time. All that's needed is a 1-cell LiPo (I use old 18650 cells recycled from damaged laptop battery packs; works for more than 6 hours on one charge).
When the light controller doesn't detect a receiver signal for five seconds, it switches into demo mode. If you connect a RC system, the light controller works as usual with realistic brake/indicators/reversing lights and switchable head lamps and hazard lights.
The client requested one of the light patterns being like a F1 safety car (head lamps and rear lamps alternately flashing), so we added that too.
For many more photos please visit our Flickr album at https://www.flickr.com/photos/78037110@N03/sets/72157650517751310/
On to the next project!
A really amazing car look like a 1:1 real car than a 1/10 model!
ReplyDelete